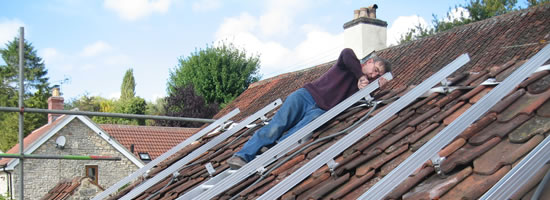


2.88Kwp Sanyo Array using SMA SB3000 inverter, Camerton, Bath
Installation
On acceptance of our quotation we will provide you with an installation date and confirm the time required for the install. We will keep you informed all the way.
The scaffold, if required, will usually be erected the week before work commences. Material deliveries will be made on a just in time basis direct from the distributor.
The finished solar system is comprised of solar modules interconnected electrically in parallel strings of series connected modules. The solar modules are fastened to a support structure that is fastened to the roof or to ground mounted steel posts . The installation sequence is generally as follows:
- Receive PV materials and inspect, safely/securely stow materials.
- Install roof/ground mount.
- Lay Earth cable and DC array, string and inverter cables, test cables
- Attach array framework and attach earth cable
- Mount PV modules
- Connect module-module string interconnecting cable
- Fit junction boxes as appropriate
- Fit DC isolator(s)
- Attach DC array cable and DC inverter cable to circuit breakers
- Attach DC array and string cables to respective modules
- Confirm appropriate string and array open circuit voltage and short circuit current
- Clad and weather seal array frame as appropriate
- Fit inverter(s)
- Fit AC circuit breakers and lay and connect AC inverter cable(s)
- Lay and connect AC grid cable to MCB
- Connect metering /monitoring equipment
- Commissioning & handover
